

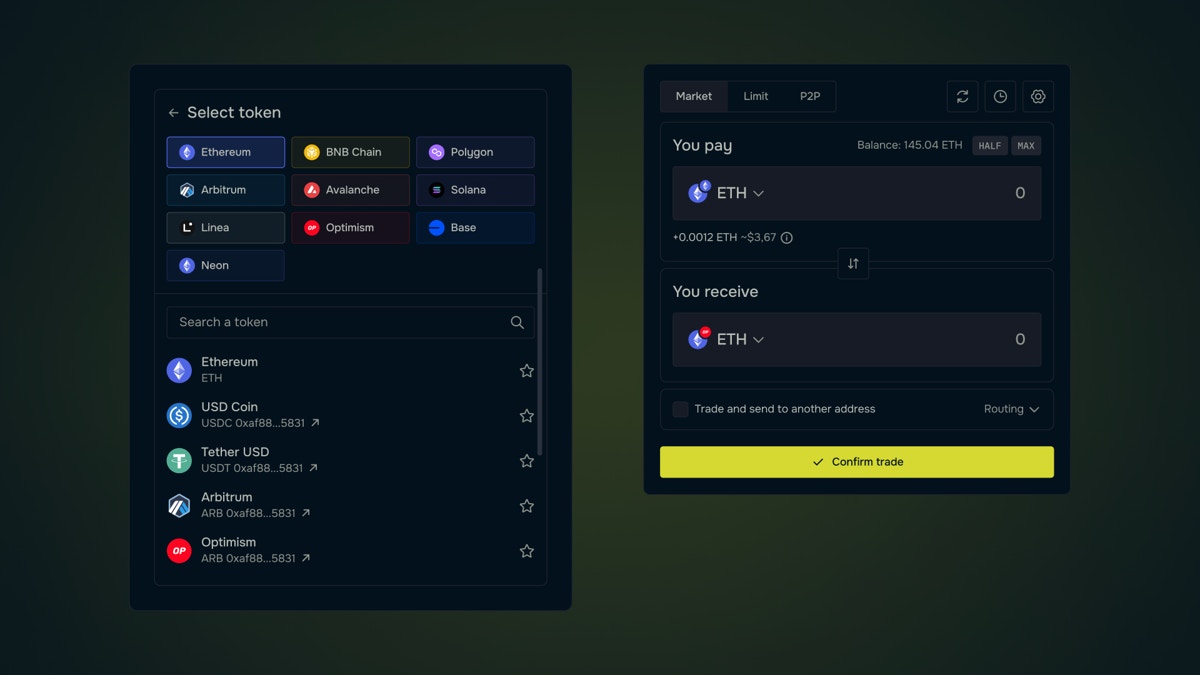
Requirements
The widget is based on web technology, that’s why your app must support technology such as JavaScript, HTML, CSS or use webView to add the widget. You can use any type of framework for the web app. The launch of the widget is going on through iframe embedded on the page. The API integration is based on JavaScript.Widget embedding
The following steps are needed to add the widget:- Connect js script to your app
- Add an html element with a unique id
- Generate js object with the description of the widget settings. You can use the builder of deSwap Widget for auto-generation js object.
- Initialize
deBridge.widget(initObject), whereinitObjectcontains the settings.
Widget object settings description
Example
Example
Styles
The styles field contains the fields: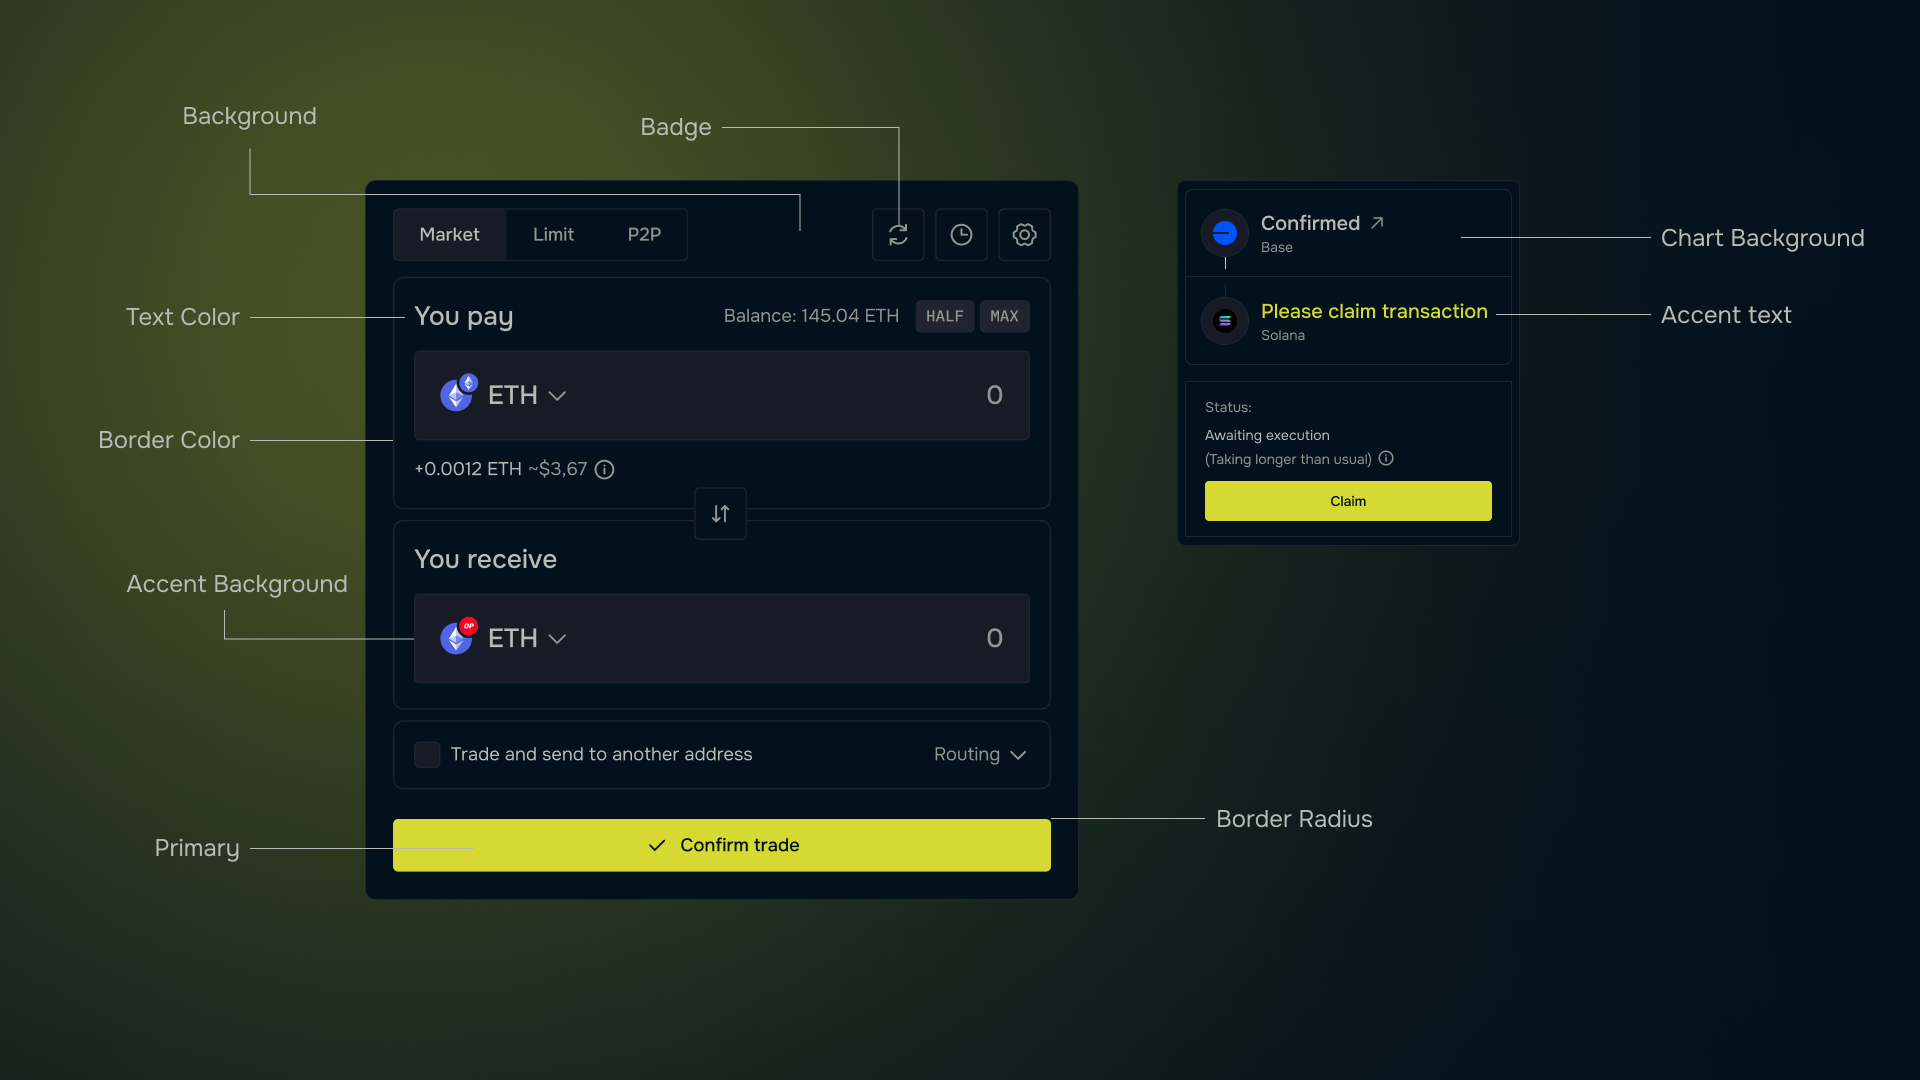
HTML Example
HTML Example
deBridge Widget events and methods
Widget Initialization
The widget is initialized asynchronously using:Events
The widget object supports several event listeners that respond to specific actions. Each event can be registered using:Available Events
needConnect
- Triggered when the widget requires a connection.
-
Example handler:
order
- Triggered when an order is created.
-
Parameters:
params.status: Order status.
-
Example handler:
singleChainSwap
- Triggered when a single-chain swap occurs.
-
Example handler:
bridge
- Triggered when a deport transaction occurs.
-
Parameters:
params.status: Bridge status.
-
Example handler:
callData
- Triggered when call data for an order is required.
-
Example handler:
inputChainChanged
- Triggered when the input chain is changed.
-
Example handler:
outputChainChanged
- Triggered when the output chain is changed.
-
Example handler:
inputTokenChanged
- Triggered when the input token is changed.
-
Example handler:
outputTokenChanged
- Triggered when the output token is changed.
-
Example handler:
Methods
The widget object provides several methods to programmatically interact with it.disconnect()
Disconnects the connected wallet in the widget.
-
Example usage:
changeInputChain(chainId)
Changes the input chain to the specified chainId.
-
Example usage:
changeOutputChain(chainId)
Changes the output chain to the specified chainId.
-
Example usage:
changeInputToken(tokenAddress)
Changes the input token using the given token address.
-
Example usage:
changeOutputToken(tokenAddress)
Changes the output token using the given token address.
-
Example usage:
setExternalEVMWallet(walletConfig)
Connects an external EVM-compatible wallet.
-
Example usage:
setExternalSolanaWallet(walletConfig)
Connects an external Solana-compatible wallet.
-
Example usage:
setReceiverAddress(address)
Sets the receiver’s wallet address.
-
Example usage:
setAffiliateFee(feeConfig)
Sets the affiliate fee for Solana and EVM networks.
-
Example usage:
deBridge Widget builder
The builder is available at https://app.debridge.com/widget and contains:- Widget settings fields
- Widget preview
- Field with source code for embedding in the application
Work Algorithm
- Fill in the fields of widget settings to see your future widget. All field changes are updated in real time.
- Once UI and other settings suit your requirements, you can just copy the source code to your project to embed the widget according to the “Widget embedding” section.